Packaging
To process a prescription through the Packaging queue:
-
From the Workbench, select the Packaging queue. Prescriptions that are currently in the Packaging queue display in the prescription grid.

-
Select the prescription(s) that you are packaging.
-
Select Process. The prescription opens in the Packaging window.
-
Enter the following information:
-
UPC - either manually enter the information or scan the package. A message displays under the UPC field if the UPC matches or does not match the DIN or pack size selected.

-
Lot - the lot # on the package.
-
Expiry (MM/DD/YYYY) - the expiry date on the package. This can be entered with or without dashes (-) or slashes (/). Propel Rx will assume that the dates you enter are in the formats MMYY, MMDDYY, or MMDDYYYY. If you only enter month and year, Propel Rx will assume the last day of the month as the expiry date.
The format MMYYYY is not supported. If you enter 012025, the expiry date will be Jan 20, 2025, not Jan 2025.
For example:
-
0125 will be interpreted as Jan 2025 (in Workflow Details, it will appear as Jan 31, 2025)
-
013125 will be interpreted as Jan 31, 2025
-
01312025 will be interpreted as Jan 31, 2025
-
-
Qty - the quantity from the package that is being dispensed. Automatically populated based on the pack size.
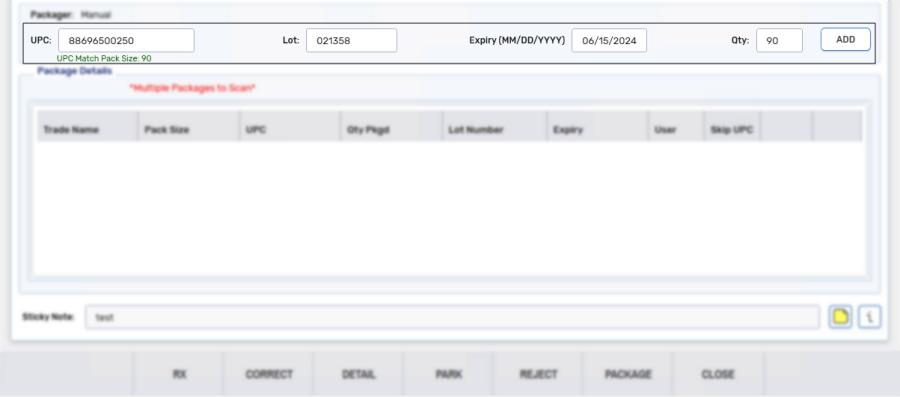
Only UPC and Qty are mandatory when packaging. For tracking purposes, it is recommended the Lot and Expiry (MM/DD/YYYY) fields are also populated.
-
-
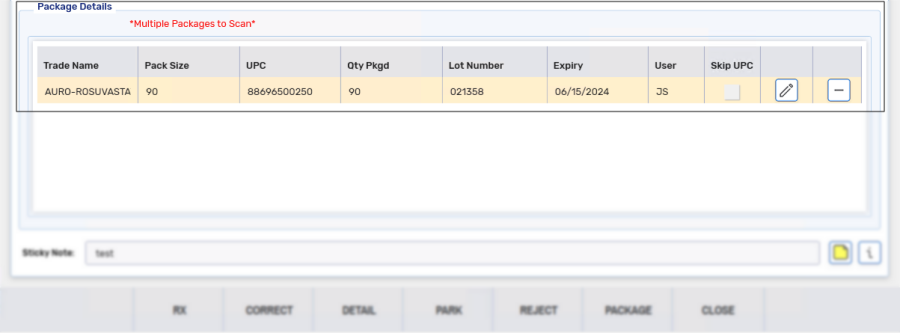
Select Add. The package information is added to Package Details.
-
Repeat steps 4 - 5 if additional packages are required. For more information, see Multiple Packs.
Once all required packages have been scanned, ALL ITEMS HAVE BEEN PACKAGED displays.

If you package a prescription and then Rebill it for a lesser quantity, remove the previously entered rows in the Package Details section before proceeding to package the new quantity.

Additional Scenarios
The Packaging window is a robust feature of Propel Rx, considering different scenarios your pharmacy may encounter when packaging a prescription and offers easy and efficient solutions.
Use the dropdowns below for more information.
The Packaging window in Propel Rx can determine and notify you when multiple packs are required to fill a prescription, based on the pack size selected to fill the prescription.
When multiple packs are required, a message displays in the Package Details section.

Once all packs have been scanned or entered, you are notified that all items have been packaged.

Rx# 500189 is processed for 180 tablets of Januvia 100mg. The pack size selected for Januvia 100mg is 100. Based on the pack size, two packages are required to package the prescription.
First package - quantity is automatically set to 100 as the full package should be used.

Second package - quantity is automatically set to 80 to account for the remainder.

The Qty field can be modified, if required.
If a pack size expires within the Days Supply of the prescription, the pack can still be used. A prompt appears when the pack is added that warns users of the short expiry date. If Yes is selected, the pack is added to Package Details and Packaging can resume.

A '(Short)' indicator appears in Workflow Details beside the Expiry Date.

If a UPC is scanned or entered, and it is not the correct UPC, Propel Rx may return one of the following messages:
-
UPC does not match the DIN selected
-
UPC does not match the pack size selected
-
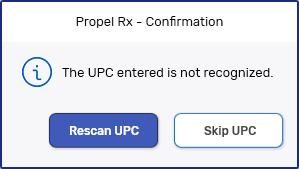
UPC not recognized
This could be due to the incorrect pack or bottle scanned, the wrong pack size scanned or the UPC is damaged.
In these scenarios, if you want to skip the UPC scan:
-
Scan or enter the UPC. One of the above error messages displays.
-
Select Add. A validation prompt displays.
-
Select Skip UPC. A prompt displays to enter in an authorized pharmacy member's User Name and Password or to scan their fingerprint.
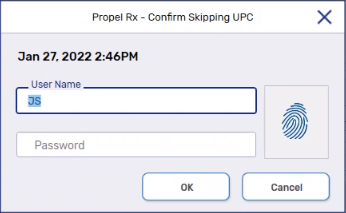
The package information will display in the Package Details with the Skip UPC checkbox selected.

Prior to completing the Packaging process, labels can be split, if required, to offer variety and flexibility when labelling prescriptions by specifying a quantity that will appear on each Vial label.
To adjust the split quantity, select the expander icon ![]() next to the attachments button.
next to the attachments button.

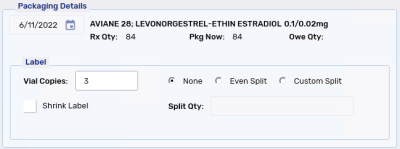
There are three split label options:
-
None - default selection. No split occurs and the same quantity appears on each Vial label.
-
Even Split - the quantity of the prescriptions is split evenly between the specified Vial label copies.
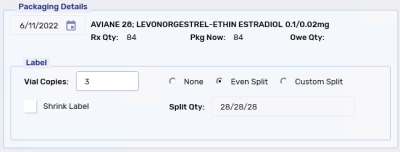
The Split Qty is automatically populated based on the quantity of the of the prescription and the number of Vial labels.
-
Custom Split - the quantity of the prescription is split based on the Split Qty entered.
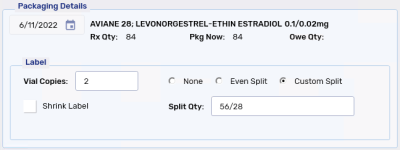
Split quantities can also be set in the Extended tab of Rx Detail. For more information, see Split Label Functionality.
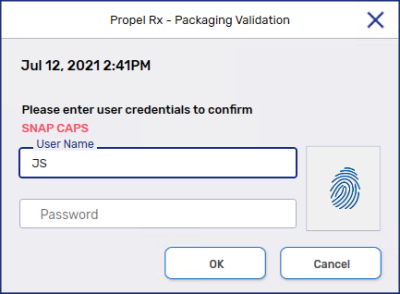
Snap Caps and Double Count preferences can be set in the Patient Folder in the Preferences tab. For more information, see Packaging Preferences.
Once all packages have been scanned and the Package button is selected, if one of the preferences is set, one of the following prompts displays.
-
Snap Caps
-
Double Count
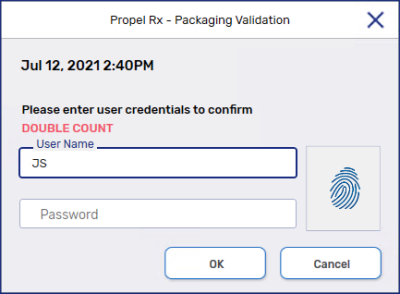
The team member who confirmed Snap Caps or that a Double Count is performed can either enter their User Name and Password or scan their fingerprint.